
At-home manicures is usually a terrific different to the costly nail salon companies that always solely final a handful of days, no pun supposed! To present your self an intensive, long-lasting manicure at residence you’ll need to comply with just a few key remedies to get the utmost variety of days out of it.

Regardless that I like getting my nails professionally executed (who does not love some pampering?), I do my nails at residence each week. Purchase just a few new nail polishes and these residence manicure provides, and you are able to do them your self late at evening once you’re studying in mattress or watching one thing on the iPad.
It is easy and saves me time and cash. Simply make certain to permit 45 minutes or so earlier than falling asleep to keep away from smudge disasters!
Leap to:
How To Do a Manicure At House

We have put collectively slightly step-by-step information on the final word salon-worth at-home manicure together with our favourite manicure provides. Put aside loads of time for the manicure itself and for the drying time after,and also you simply is likely to be shocked how nice your nails look!
Step 1 | Take away Outdated Nail Polish Totally
Use a pure polish remover or acetone-free nail polish removerand cotton balls to take away all indicators of your earlier colour alternative. Generally it takes just a few passes to get a vibrant colour,resembling crimson,eliminated totally from pores and skin and nails.
No remover?Do not fret,strive certainly one of these at-home nail polish remover concepts.
Nail polish remover picks:
Step 2 | Soak To Soften Cuticles
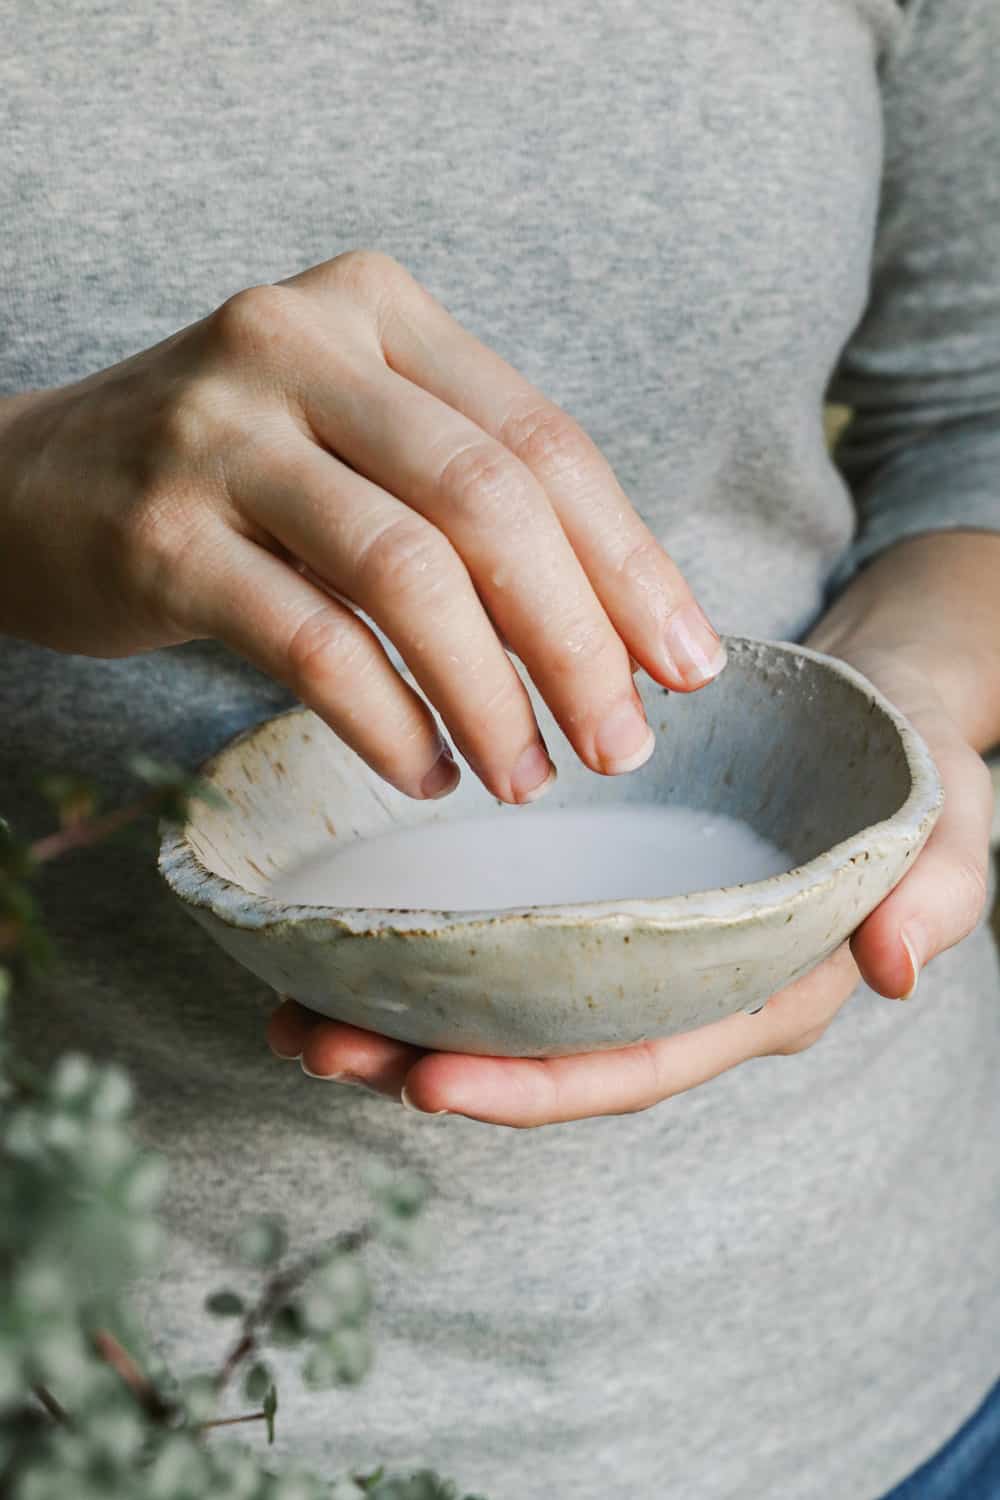
In a shallow dish,mix 1 teaspoon uncooked honeyand a pair of teaspoon olive oil in heat water. Soak for 5-10 minutes.
The honeyhas antibacterial properties and can cleanse and soften your nails whereas retaining moisture which is nice for dry nail beds. Olive oilmay also add moisture and shine to dry nails and cuticles.
In case your cuticles are wanting particularly tough,add ¼ cup milk for its lactic acid,which helps soften the pores and skin and slough away lifeless pores and skin cells. You too can add a little bit of provider oil or just a few drops of an important oil that is good for nails,like myrrh.
Step 3 | Clear Nails

After soaking,use a brush or nail file to take away particles and dust from beneath your nails.
In case your nails are yellowor discolored make a paste of hydrogen peroxide and baking soda. Therapeutic massage nail beds with the combination and let it sit for a few minutes then rinse off.
Exfoliator Picks:
Step 4 | Therapeutic massage Fingers
It could be slightly unusual to offer your self a therapeutic massage,however don’t skip this step! Your pores and skin will profit from the hydration,to not point out we maintain a whole lot of pressure in our palms and fingers.
This whipped shea butteris an ideal alternative to make use of throughout a hand therapeutic massage.
Hand lotionpicks:
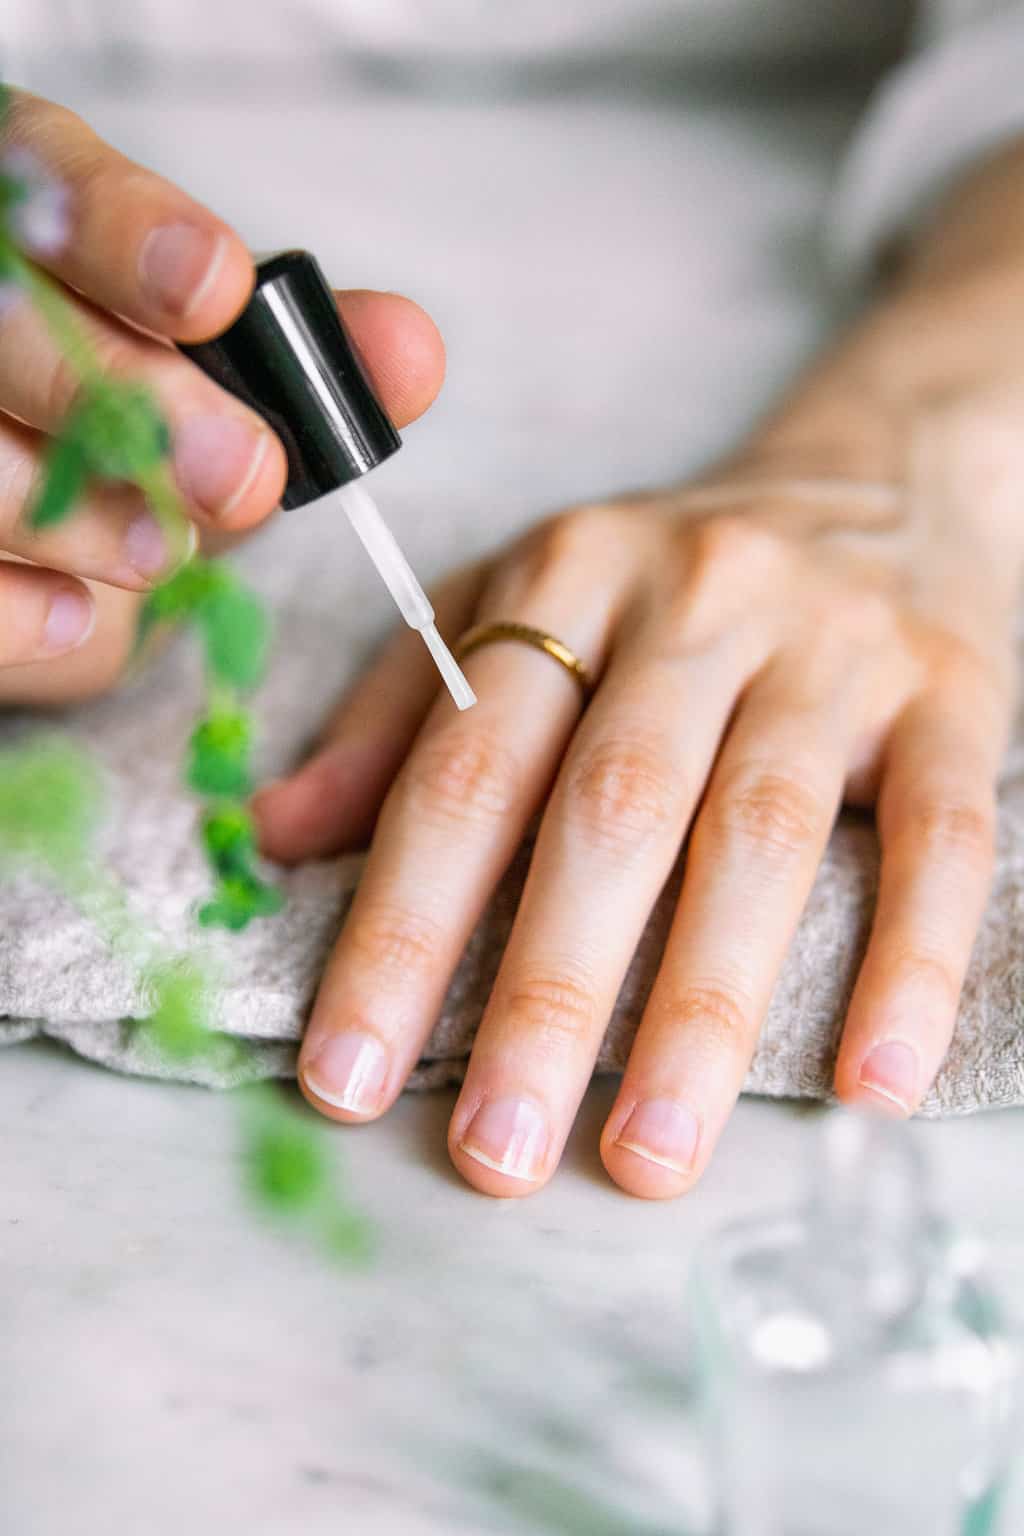
Step 5 | Cuticle Therapy
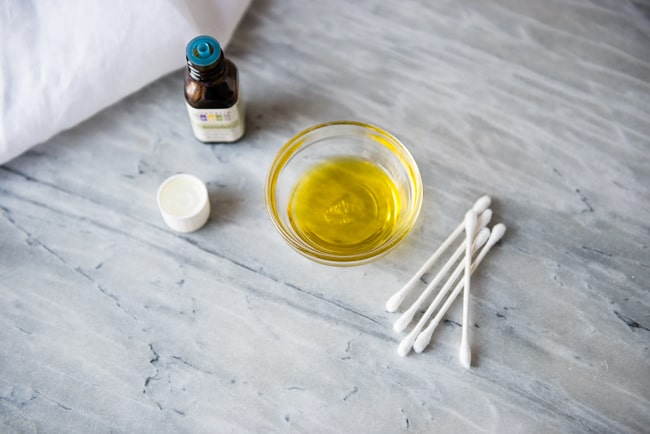
Cuticles are likely to dry out and peel from the chemical compounds in nail polish so cuticle oil is a should. To melt cuticles,add a drop of lavender important oilto 1 teaspoon of olive oil. Or use a cuticle balminfused with one of the best important oils for nails.
Apply a drop or two of oil to the bottom of every nail. Then therapeutic massage it into the cuticles for about 30 seconds. The longer you therapeutic massage,the softer and extra hydrated they’ll be,so take your time.
Cuticle serum picks:
Step 6 | Push Cuticles Again
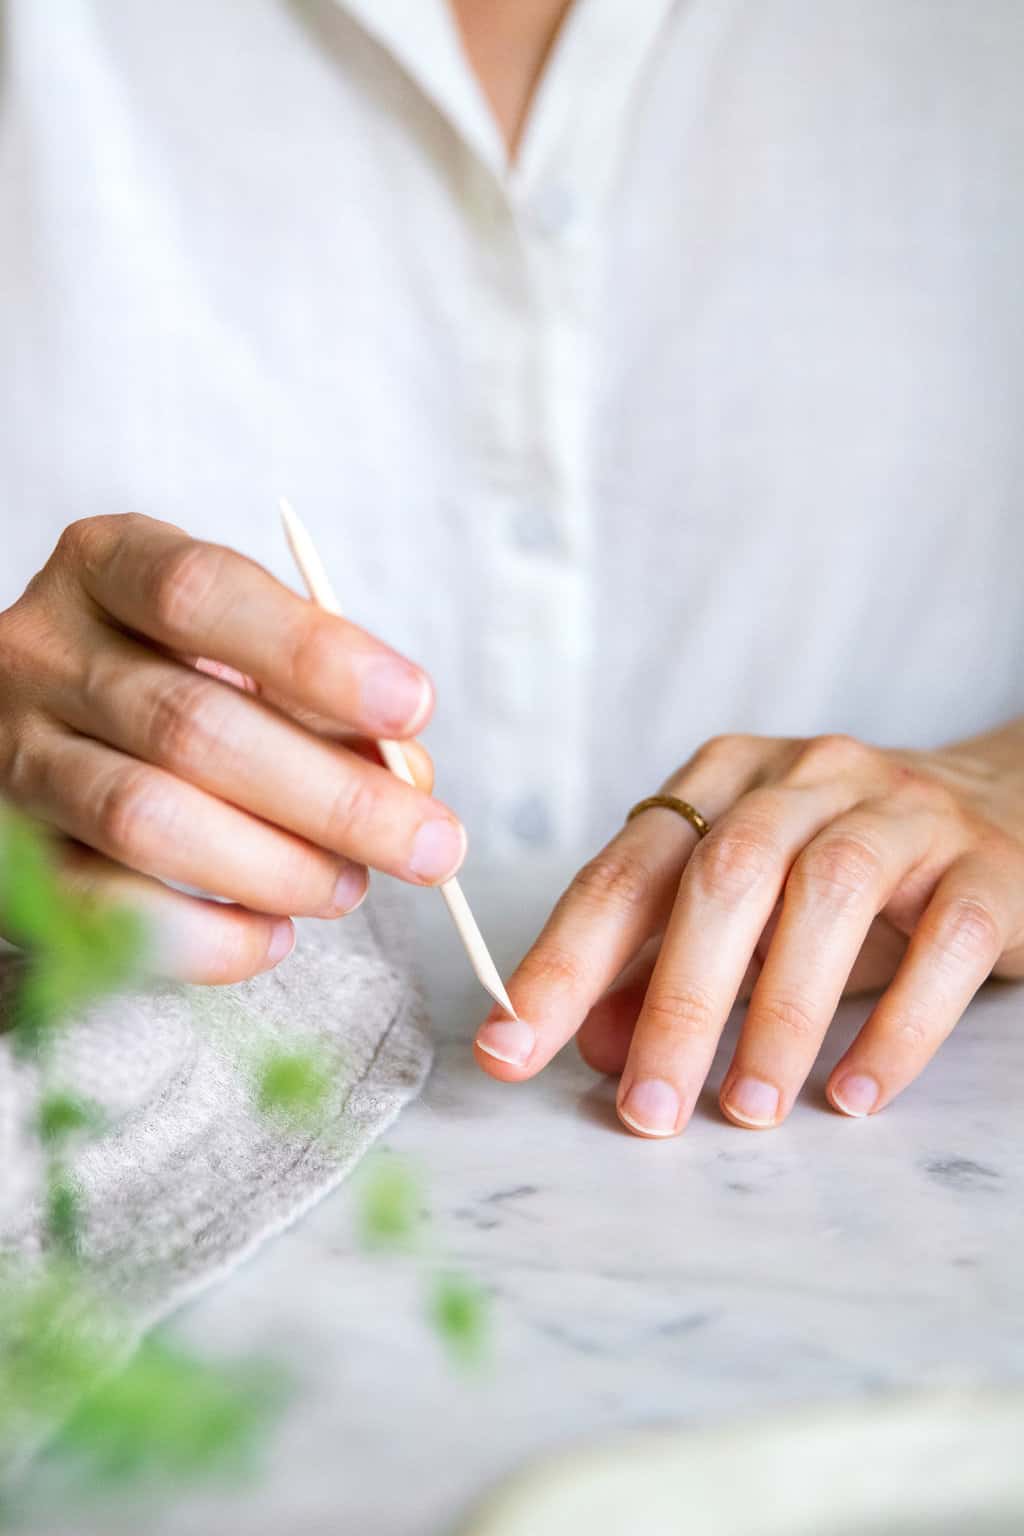
Now that your cuticles are hydrated,it’s time to scrub them up. Use a Q-tip or cuticle follow push again your cuticles so that they don’t get in the way in which of your polish.
Clip hangnails and eliminate pores and skin which will snag however do not trim your cuticleslike they do on the salon. In my expertise,once they develop out you are left with an enormous ol’ratty mess!
The extra I mess with my cuticles,the extra they crack and peel sooner or later,so I maintain this half to a minimal.
Cuticle pusher picks:
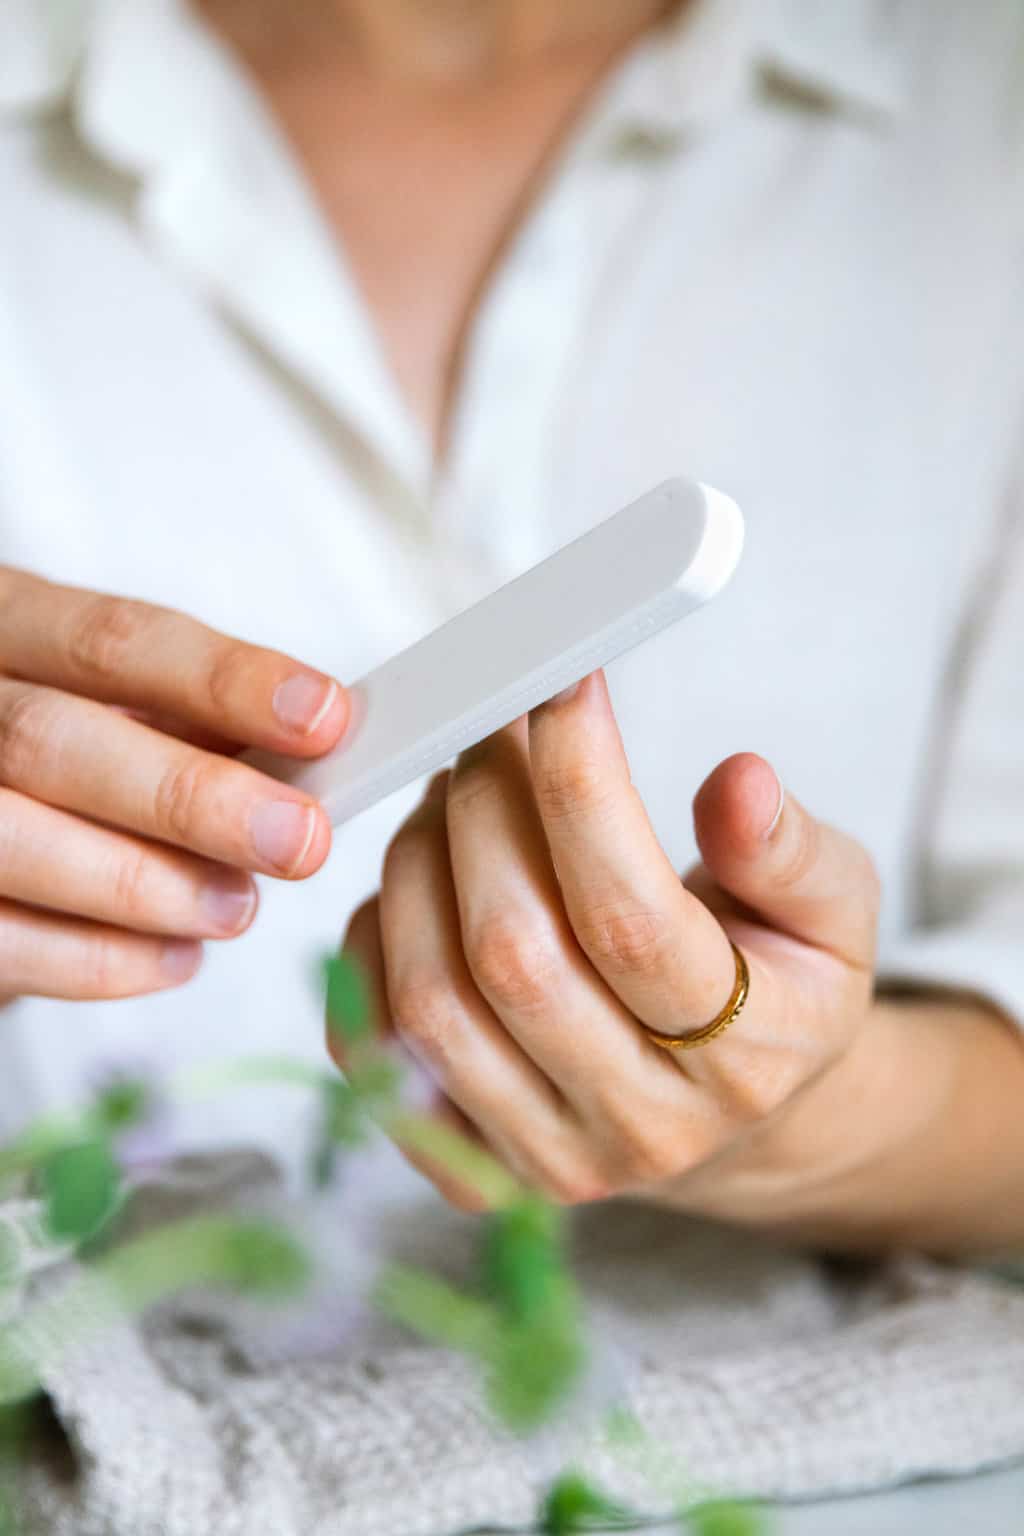
Step 7 | File and Form Nails
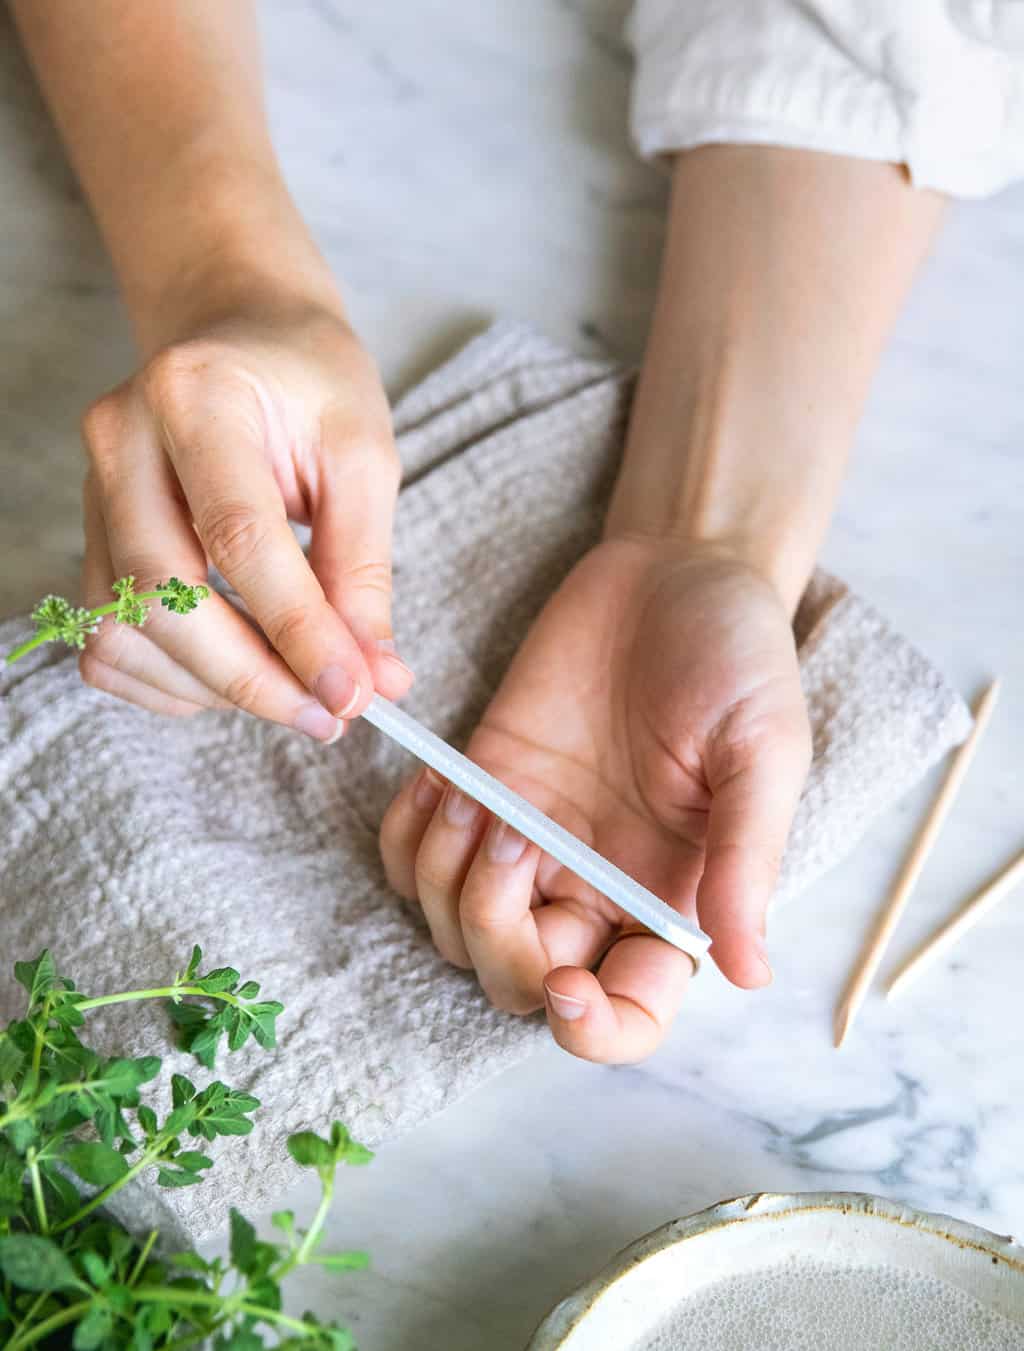
Whether or not you like sq.,oval,or stiletto,use a nail file to form your nails into your required size and form. File in a single path in order that your nails do not get break up ends.
If you happen to can’t determine which form to make,strive mirroring the form of your cuticles. When you’ve got straight or squared-off cuticles,go for sq. or squoval (square-oval) nails. When you’ve got spherical cuticles,strive a spherical or oval form.
Nail file+clipper picks:
- The OPI Crystal Nail Fileis reusable,sanitizable,and travel-friendly,to not point out long-lasting. A crystal nail file is one of the best factor you may ever purchase. I’ve had mine for years,and I am unable to inform you sufficient how a lot I like it.
- Alternatively,the Tweezerman Neon Sizzling Nail Informationare available a set of three,and so they can file each pure and acrylic nails.
- The Revlon 2-in-1 Nail Clipperand the essential Revlon Nail Clipperare each glorious,long-lasting choices for an at-home mani.
Step 8 | Buff the Nail Plate
As soon as your nails are formed,use a nail buffer to easy the nail plate.
Utilizing the roughest a part of the buffer,gently buff the floor of every nail to easy out any ridges and eliminate discoloration. Proceed buffing till the nail turns into cloudy.
Subsequent,utilizing the smoother a part of the buffer,buff the nails till they develop into shiny.
Wipe away mud with a moist towel. Rinse off your nails to eliminate any lingering mud or oil which will intervene with the applying of your polish.
Nail bufferpicks:
Step 9 | Apply a Base Coat
With clear,trimmed nails,it’s time to use the bottom coat. This protects the nails towards staining and likewise promotes adhesion between the nail and the nail varnish.
Let the bottom coat dry totally earlier than shifting on to the following step.
Base coatpicks:
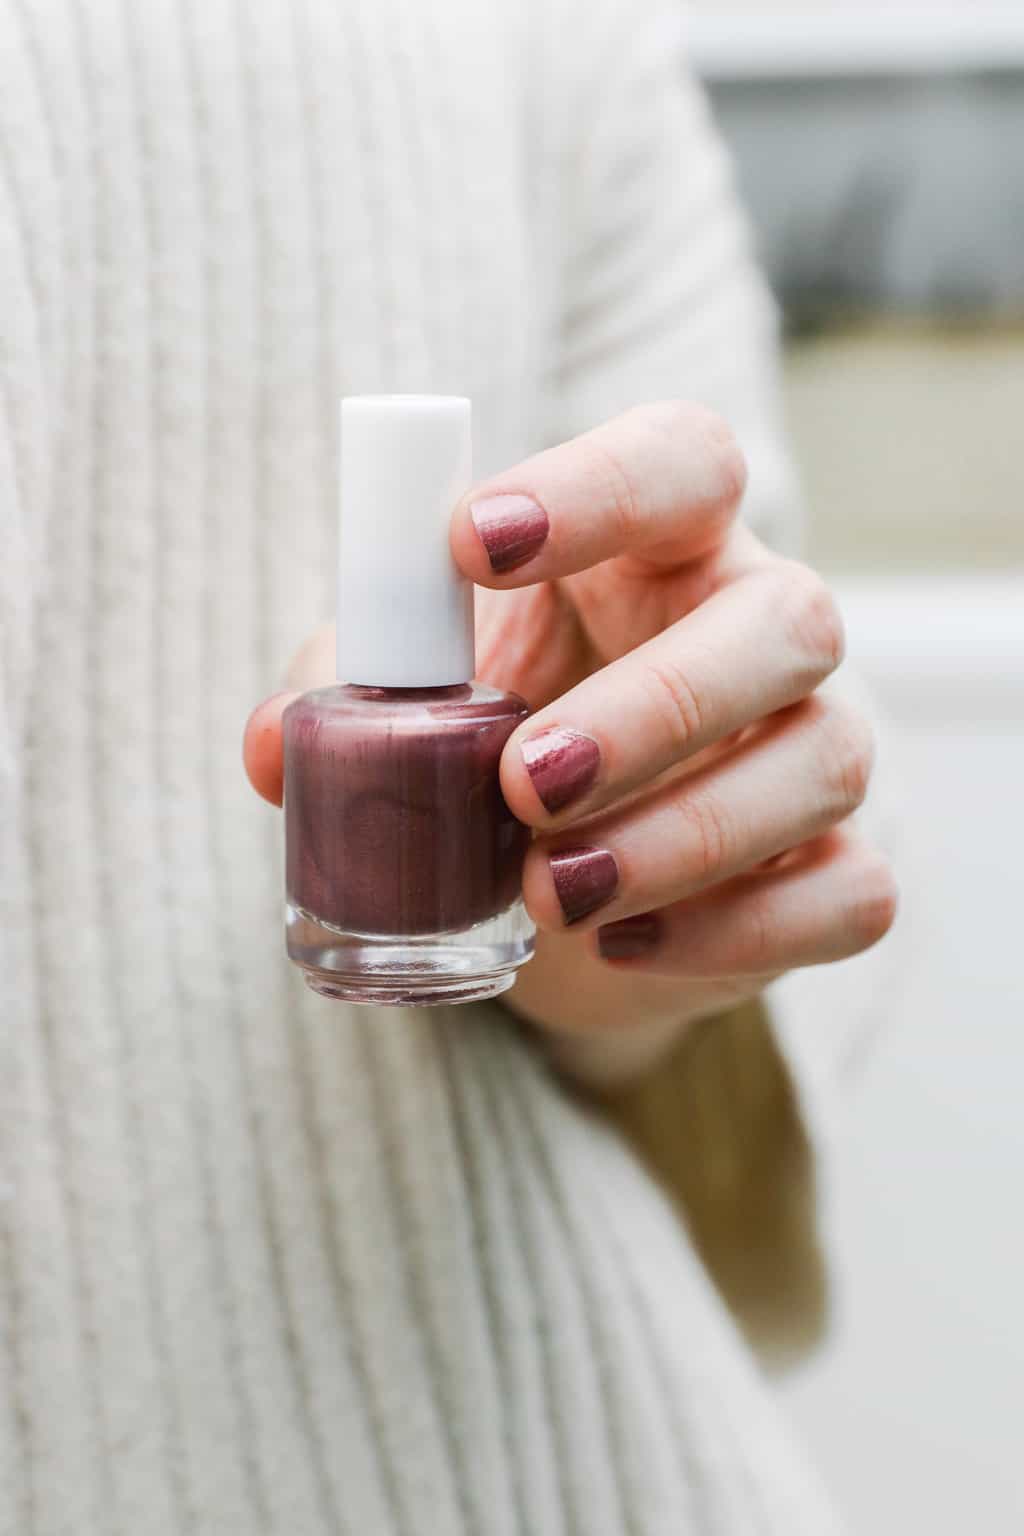
Step 10 | Polish Nails
Now you’re prepared for nail polish. Are you a impartial lady who sticks to pale pinks and nudes,or do you modify your nail shades with the season?
Most nail polishes must be utilized in two skinny coats. Place a stroke down the middle,adopted by one on either side. Let the primary coat dry and apply the second in order that it gives a extra opaque end.
Nail polish picks:
Step 11 | Apply High Coat
End with a skinny layer of clear high coat. It seals the colour and provides shine,lengthens the endurance of your nail polish,and hurries up the drying time.
If any polish finally ends up in your pores and skin,use a tiny brush (an previous eyeliner brush works effectively) dipped in nail polish remover to scrub up the perimeters. You will love a nail correctorin your arsenal for these last-minute touch-ups.
High coatpicks:
Step 12 | Loads of Drying Time
One of many causes at-home manicures are tough is that we rush by way of them with out permitting our nails to totally dry. That finally results in dings or smudges.
Give your self quarter-hour (or longer!) to ensure the whole lot is totally dry. And wait at the least 1 to 2 hours earlier than washing your palms or doing something that may smudge the paint earlier than it’s had an opportunity to treatment.
Apply one other layer of high coat each two to 3 days to offer your mani additional endurance.
FAQ
Base coats and high coats are your folks right here. They considerably enhance the longevity and look of your manicure. The bottom coat helps shield your nails and ensures higher polish adhesion,whereas the highest coat provides shine and protects towards chips and scratches.
Completely! Brief nails can look very neat and chic. Guarantee they’re evenly formed and deal with caring in your cuticles and pores and skin,which is able to improve the general look of your manicure.
It is determined by your private desire and the way shortly your nails develop and polish chips. Sometimes,a house manicure can final a few week. However making use of a high coat each few days can assist prolong the lifetime of your manicure.